The Physics of Wicking
Wicking systems harness capillary action to move water from a reservoir upward through soil or specialized materials. This natural phenomenon occurs when water molecules are attracted to solid surfaces, creating a continuous flow from areas of higher moisture to areas of lower moisture.
By creating a "hidden lake" at the bottom of your container, you establish a water source that plants can access as needed. The soil above acts as a wick, drawing moisture upward when the surface dries, creating a self-regulating system that maintains consistent moisture levels.
Building Hidden Reservoirs
Basic Reservoir Design
Create a water reservoir using a perforated platform placed 5-8cm above the container bottom. Fill the space below with water, ensuring the platform prevents soil from falling into the reservoir while allowing roots to access moisture.
Reservoir Depth: 5-8cm | Capacity: 20-30% container volume
Wicking Material
Use materials with high capillary action such as cotton rope, synthetic wicking strips, or specialized capillary matting. These materials create pathways for water to travel from the reservoir to the root zone above.
Wicking Rate: 1-2cm per hour | Material: Cotton or synthetic
Water Level Indicator
Install a simple water level indicator using a clear tube or float system. This allows you to monitor reservoir levels without disturbing the system, ensuring you refill before the reservoir empties completely.
Indicator Type: Float or clear tube | Visibility: External access
Self-Watering Container Construction
Transform any container into a self-watering system by dividing it into two zones: the reservoir below and the growing medium above. The key is creating a barrier that separates these zones while allowing water movement.
Step 1: Reservoir Layer
Mark a line 8cm from the bottom of your container. This defines your reservoir space. Drill a small overflow hole just above this line to prevent overfilling and ensure proper drainage.
Step 2: Platform Installation
Create a platform using perforated plastic, hardware cloth, or a custom-fitted insert. This platform supports the soil while allowing water and roots to pass through. Ensure it fits snugly to prevent soil from washing into the reservoir.
Step 3: Wicking Setup
Insert wicking materials through the platform, ensuring they extend into both the reservoir and the soil above. Space wicks evenly across the platform to distribute moisture uniformly throughout the root zone.
Optimizing Water Efficiency
Properly designed wicking systems can reduce watering frequency by up to 70%. The key is matching reservoir size to your container's volume and your plants' water needs. Larger containers with deeper reservoirs support longer intervals between refills.
Monitor your system during the first few weeks to understand its water consumption patterns. Different plant species and environmental conditions affect how quickly the reservoir empties. Adjust reservoir size or refill frequency based on your observations.
Maintenance Considerations
Regular maintenance ensures your wicking system functions effectively. Clean the reservoir periodically to prevent algae growth and mineral buildup. Check wicking materials for signs of degradation and replace them as needed.
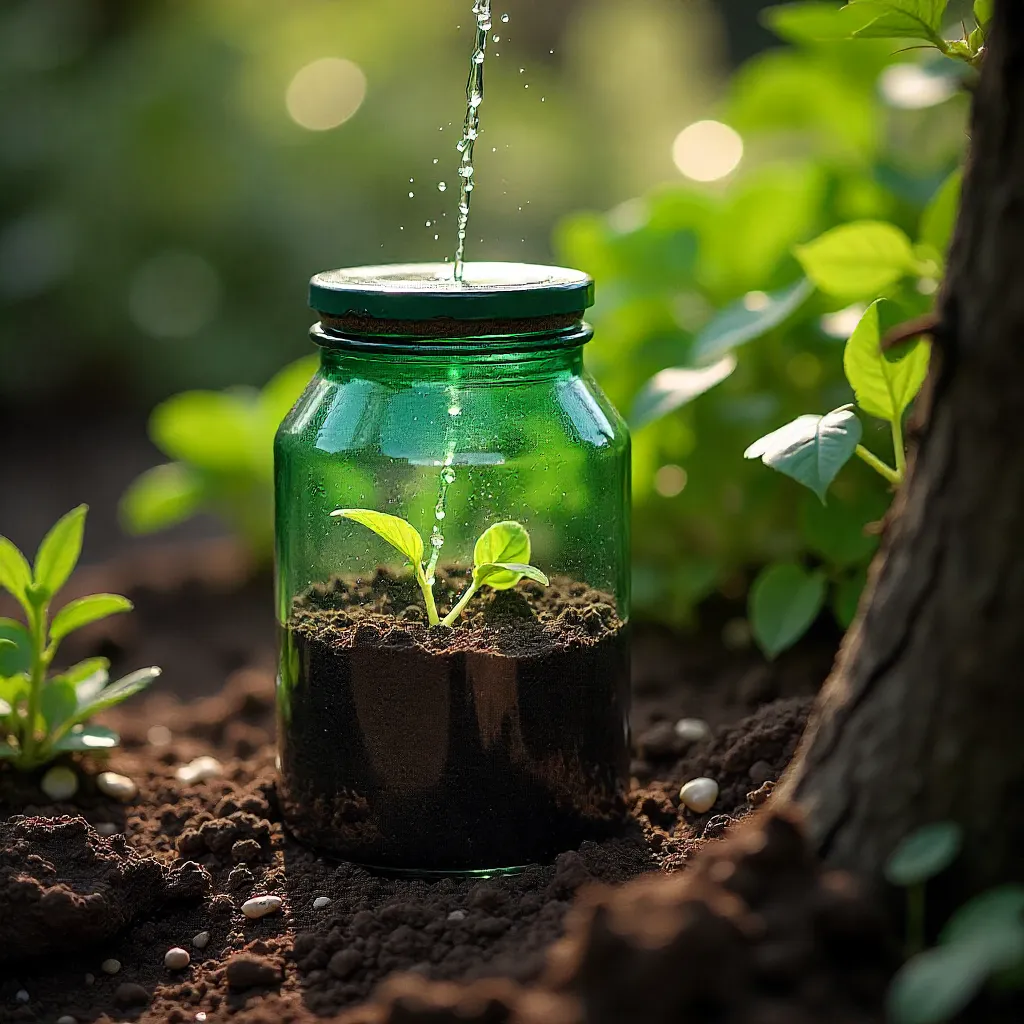
During refilling, allow water to flow slowly to avoid disturbing the soil above. Use a funnel or specialized filling tube to direct water into the reservoir without creating channels that bypass the wicking system.